Setting Up a Network Printer on Your School Network: A Step-by-Step Guide
Overview
Setting up a network printer on your school network can be a bit tricky, but with the right steps, you can get your printer up and running in no time. A network printer is connected to a secure network, which can limit your access to certain areas of the system. However, most printers on the network are set up in such a way that you can connect to them using your own device.What is a Network Printer?
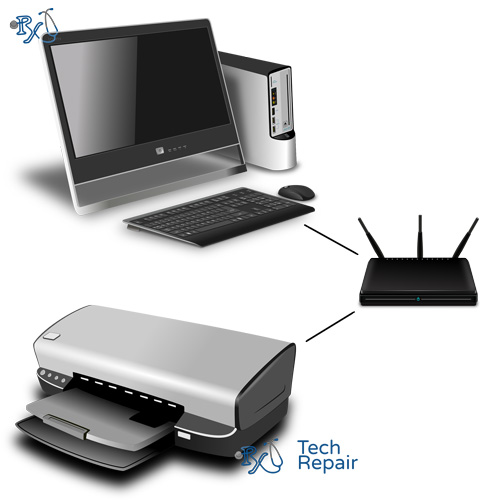
A network printer is a printer that can be used by multiple computers on a home or office network. It's a great way to share a printer among team members or students in a school setting. To connect to a network printer, you'll need to follow the steps below, which are tailored to your school's network.Steps to Set Up a Network Printer on Your School Network
###Step 1: Verify the Network Type
Before setting up your printer, you need to verify that the network is set to Private. To do this, follow these steps:- Check if your network is listed in the Wi-Fi or Ethernet pane on your device.
- If it is, select the network.
- Verify that the network is set to Private.
- If it's not, set it to Private.
Such details provide a deeper understanding and appreciation for Setting Up Printer On School Network.
Step 2: Connect to the Network Printer
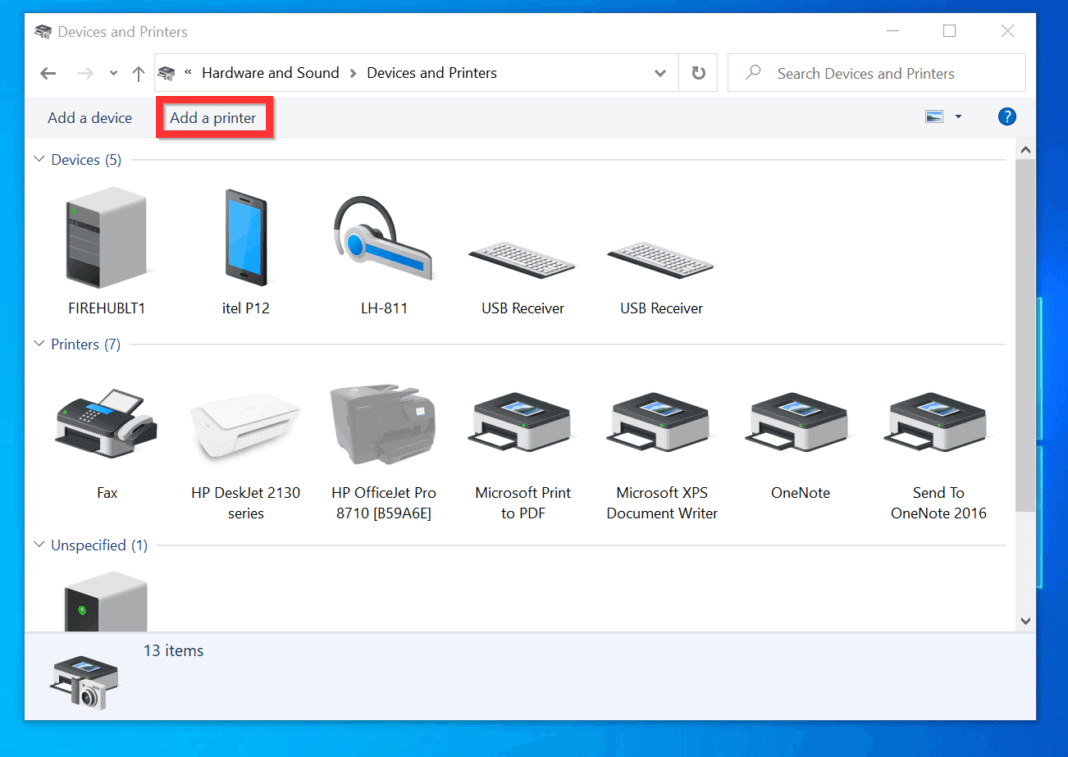
Windows Devices
To connect your Windows device to the network printer, follow these steps:- Click the Apple Icon in the upper left corner of your screen.
- Click System Settings...
- Look up "Printers & Scanners" in the search box.
- Click Printers & Scanners.
- Select Add Printer, Scanner, or Fax...
- Select the IP option.
- Type the name of the printer and add .prn.mst.edu to the end.
- Change the protocol to HP Jetdirect - Socket.
- Wait until the progress window disappears, then look in your Printers and Faxes window, where you should see a connection to the printer.
- Repeat the process to connect to any other printers you need access to.
- Set your default printer as desired.
MacOS Devices
To connect your MacOS device to the network printer, follow these steps:- Click the Apple Icon in the upper left corner of your screen.
- Click System Preferences...
- Click Printers & Scanners.
- Click the "+" button.
- Select the printer from the list, and enter the printer's hostname and URL (usually: \\server\printer_name).
- Enter your school's username and password.
- Click "Add" to complete the setup.
Furthermore, visual representations like the one above help us fully grasp the concept of Setting Up Printer On School Network.
Step 3: Test the Connection
Once you've completed the setup process, test the connection by printing a test page. If you encounter any issues, refer to the troubleshooting section below.Can't Find the Printer
If you're unable to find the printer in your device's list, check the following:- Ensure the printer is turned on.
- Check the network settings on your device to ensure it's connected to the school network.
- Restart your device and try searching for the printer again.
Can't Connect to the Printer
If you're unable to connect to the printer, check the following:Conclusion


 - PIXMA MG3620 - Canon Global")
