Drainback Sprinkler System Installation: A Comprehensive Guide
Introduction
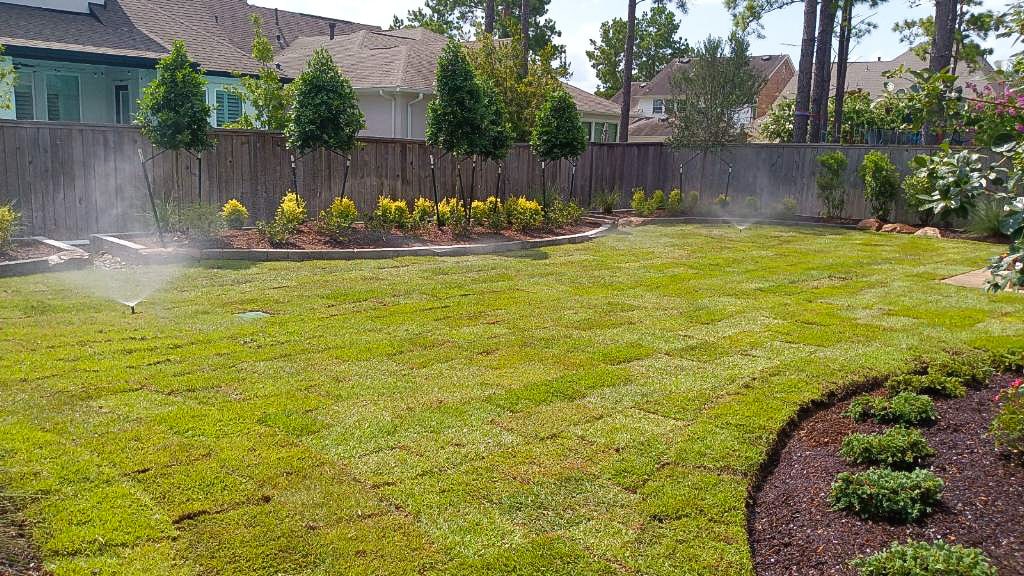
As we can see from the illustration, Drainback Sprinkler System Installation has many fascinating aspects to explore.
Installing a drainback sprinkler system is a great way to ensure efficient and effective irrigation for your lawn. This type of system is designed to conserve water and reduce waste by using gravity to drain excess water from the pipes. In this article, we will provide a step-by-step guide on how to install a drainback sprinkler system, including the necessary materials and tools.Planning and Preparation
Step-by-Step Installation Guide

This particular example perfectly highlights why Drainback Sprinkler System Installation is so captivating.
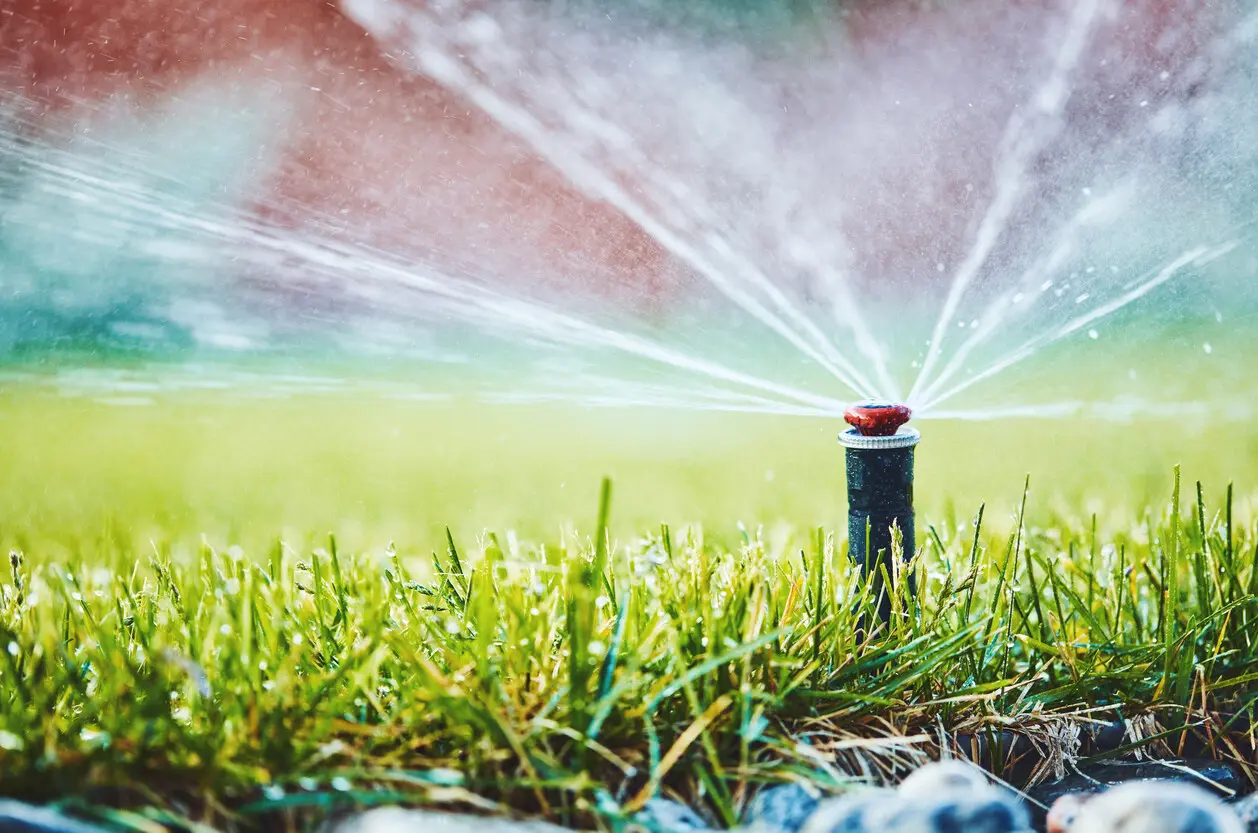
Here is a step-by-step guide on how to install a drainback sprinkler system: 1. **Locate the water source**: Determine the location of your water source, whether it's a well or a municipal water supply. Make sure the water pressure is sufficient for your system. 2. **Dig trenches**: Dig trenches for the drainback pipes and valleys, making sure to follow the manufacturer's instructions for the correct pipe size and slope. 3. **Lay out the drainback pipes**: Lay out the drainback pipes, connecting them to the sprinkler heads and valves. Use couplings and adapters to join the pipes together. 4. **Install sprinkler heads and valves**: Install the sprinkler heads and valves, making sure they are properly connected to the drainback pipes. 5. **Connect the drainback pipes to the water source**: Connect the drainback pipes to the water source, making sure to use the correct fittings and adapters. 6. **Install the water meter**: Install the water meter to measure the water flow to the system. 7. **Test the system**: Test the system to ensure it's working correctly and that there are no leaks.

")
 - wikiHow")


