Setup a Reliable and Secure Home Wireless LAN Network
In today's digital age, having a robust and secure home wireless LAN (Local Area Network) is crucial for seamless connectivity and efficient data transfer. With the increasing number of devices connected to the internet, it's essential to setup a reliable and secure wireless network that can cater to the growing demands of your home. In this article, we will guide you through the step-by-step process of setting up a wireless LAN network, ensuring that your home network is secure, fast, and reliable.Understanding the Basics of Wireless LAN
Before we dive into the setup process, it's essential to understand the basics of wireless LAN. Wireless LAN, or WLAN, is a local area network that uses radio waves to provide wireless connectivity to devices. It operates on a specific frequency range, with 2.4GHz and 5GHz being the most common frequencies used for wireless connectivity.Choosing the Right Router
To setup a reliable and secure wireless LAN network, you'll need to choose the right router. When selecting a router, consider the following factors: * Speed: Choose a router that supports the latest wireless standards, such as Wi-Fi 6, for faster speeds and greater capacity. * Range: Consider a router with a strong signal strength and a wide coverage area to ensure that all devices in your home receive a strong connection. * Security: Ensure that the router has robust security features, such as WPA2 encryption and a firewall, to protect your network from unauthorized access.Step-by-Step Setup Guide
Now that we've covered the basics of wireless LAN and chosen the right router, let's move on to the step-by-step setup guide: * Step 1: Unbox and Physically Install the Router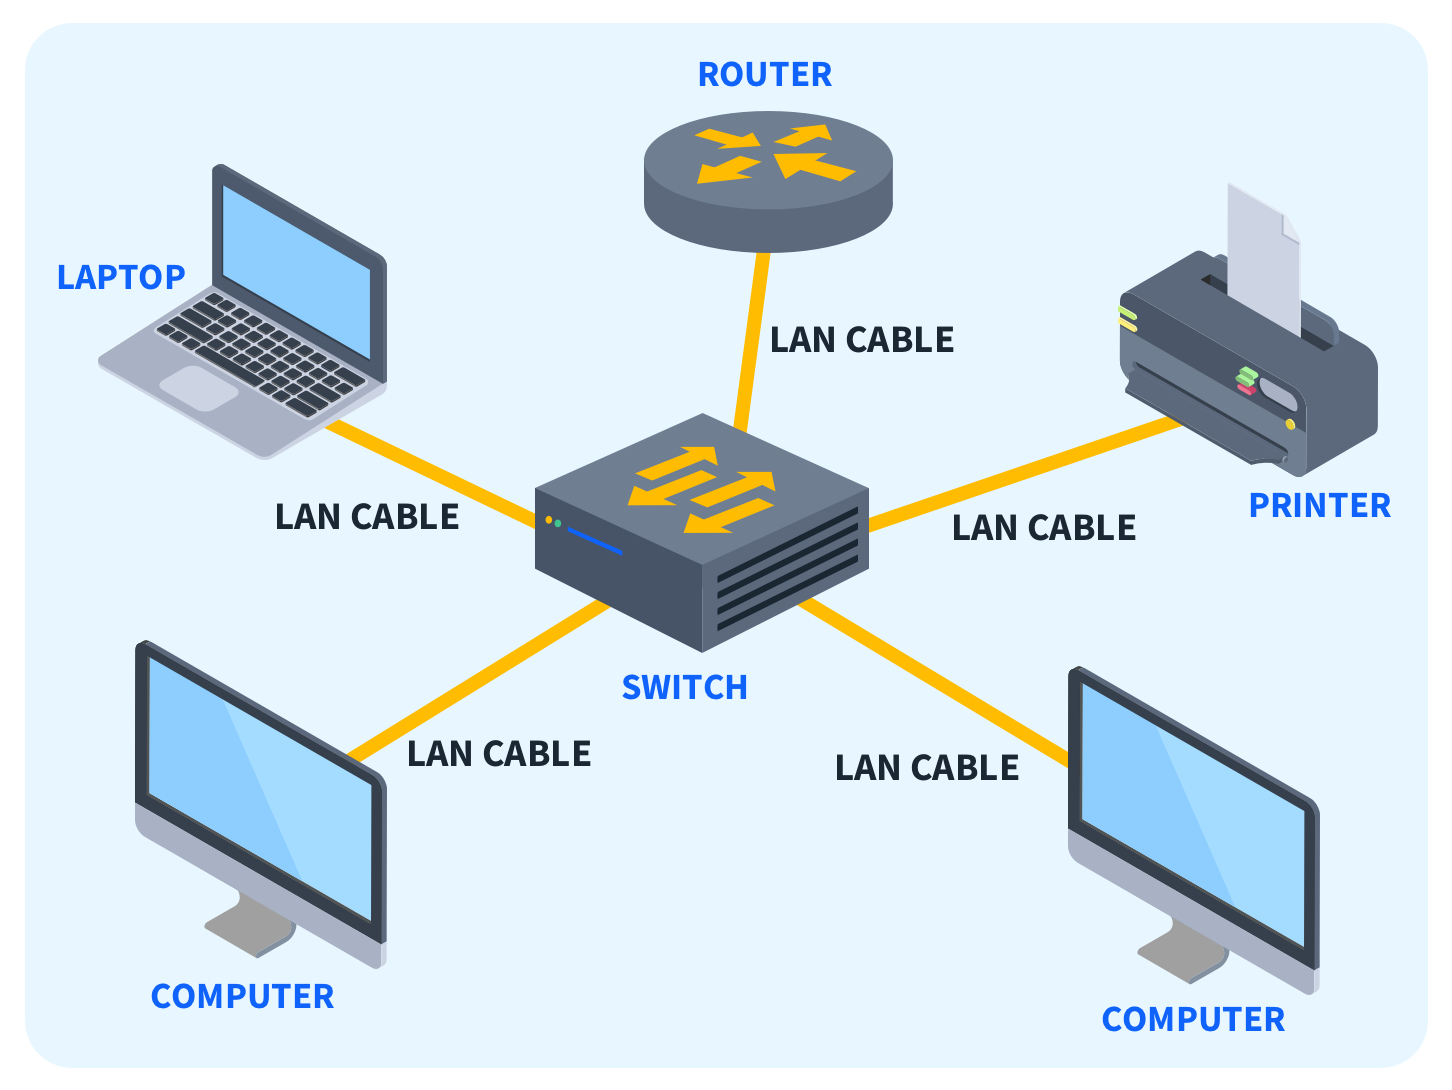
Setup a Guest Network
To setup a guest network, follow these steps: * Step 1: Go to the Router's Configuration Interface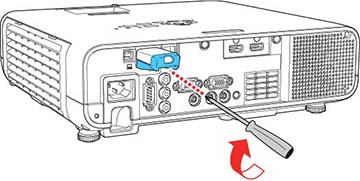
Setup Quality of Service (QoS)
To setup Quality of Service (QoS), follow these steps: * Step 1: Go to the Router's Configuration Interface - Access the router's configuration interface by navigating to the IP address of the router (usually 192.168.0.1 or 192.168.1.1). * Step 2: Navigate to the QoS Settings - Navigate to the QoS settings section, usually located under the Advanced Settings or Performance Settings. * Step 3: Configure QoS Policies
Furthermore, visual representations like the one above help us fully grasp the concept of Setup G Wireless Lan.
- Configure QoS policies to prioritize traffic for specific devices or applications. * Step 4: Save the Changes - Save the changes to apply the new QoS policies.![Picture of [Wireless Router] How to manually assign LAN IP around the DHCP list ...](https://usermanual.wiki/Contec/FXE2000-G.User-manual-rev3/User-Guide-1819932-Page-1.png "[Wireless Router] How to manually assign LAN IP around the DHCP list ...")
![[Wireless Router] How do I enter my ASUS router's setting page using ... - Setup G Wireless Lan](https://imgv2-1-f.scribdassets.com/img/document/627543080/original/32ac0cb56f/1711120640?v=1 "[Wireless Router] How do I enter my ASUS router's setting page using ...")
 | T-Mobile 5G Home Internet")

-Connection-Step-6-Version-5.jpg/aid1756116-v4-728px-Set-up-a-Wireless-Network-(WiFi)-Connection-Step-6-Version-5.jpg "How to Set up a Wireless Network (WiFi) Connection - wikiHow")


![Picture of [Wireless Router] How to check the information of devices ... - ASUS](https://static1.makeuseofimages.com/wordpress/wp-content/uploads/2023/06/set-up-wired-lan-window-on-the-ps5.JPG "[Wireless Router] How to check the information of devices ... - ASUS")
![[AiMesh] How to setup AiMesh system (Web GUI)? - ASUS](https://microless.com/cdn/products/c99931119b18ac2a0336093948de9553-hi.jpg "[AiMesh] How to setup AiMesh system (Web GUI)? - ASUS")


 in a Lab - Prezi")


![View of [Wireless Router] How to set up Wake on LAN (WOL)? - ASUS](https://cdn.shopify.com/s/files/1/0673/4748/0820/files/FAQ2_600x600.png?v=1719800161 "[Wireless Router] How to set up Wake on LAN (WOL)? - ASUS")