Understanding Motherboard Capacitor Replacement and Repair
Introduction
Motherboards
Tools Required for Motherboard Capacitor Replacement
Replacing a faulty capacitor requires a set of specialized tools, including a soldering iron, desoldering pump or wick, solder wire, flux, and replacement capacitors. It is crucial to use proper soldering techniques and follow a step-by-step guide to avoid causing damage to other components on the motherboard.Capacitor Replacement Strategy
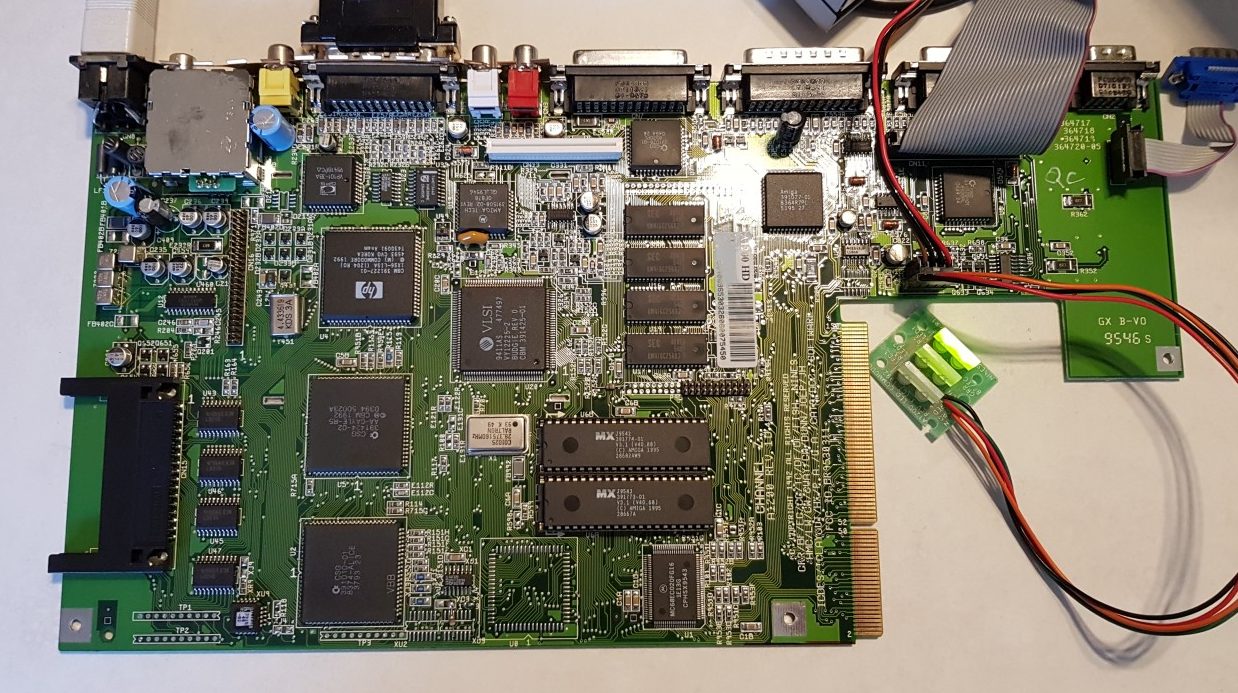
As we can see from the illustration, Motherboard Capacitor Replacement And Repair has many fascinating aspects to explore.
When replacing a faulty capacitor, it is essential to follow a capacitor replacement strategy to ensure that the repair is done correctly. The strategy involves replacing the faulty capacitor with a new one of the same or equivalent specifications, making sure that the new capacitor is compatible with the motherboard's power delivery circuit.Step-by-Step Guide to Motherboard Capacitor Replacement
Replacing a faulty capacitor on a motherboard can be a complex process, but with the right tools and a step-by-step guide, it can be done by a beginner. Here is a general guide on how to replace a faulty capacitor on a motherboard:- Shut down the computer and unplug the power cord.
- Remove the motherboard and locate the faulty capacitor.
- Desolder the faulty capacitor.
- Clean the area around the capacitor.
- Install new capacitor of the same specifications.
- Solder the new capacitor.
- Reassemble the computer and test the motherboard.


