How to Set Up Printer on School Network: A Step-by-Step Guide
If you're a student or teacher looking to set up a printer on your school network, you're in the right place. This guide will walk you through the process of setting up a network printer on your school's Wi-Fi network. We'll cover the necessary steps, tips, and tricks to ensure a smooth installation process.
Prerequisites
- Make sure you have access to the school's Wi-Fi network.
- Ensure your printer is compatible with your school's network settings.
- Familiarize yourself with your school's network policies and procedures.
Step 1: Connect to the School Network
Before you can set up your printer on the school network, you need to connect to the network. This can be done either wirelessly or using an Ethernet cable. If you're connecting over Wi-Fi, ensure your computer and printer are on the same network.
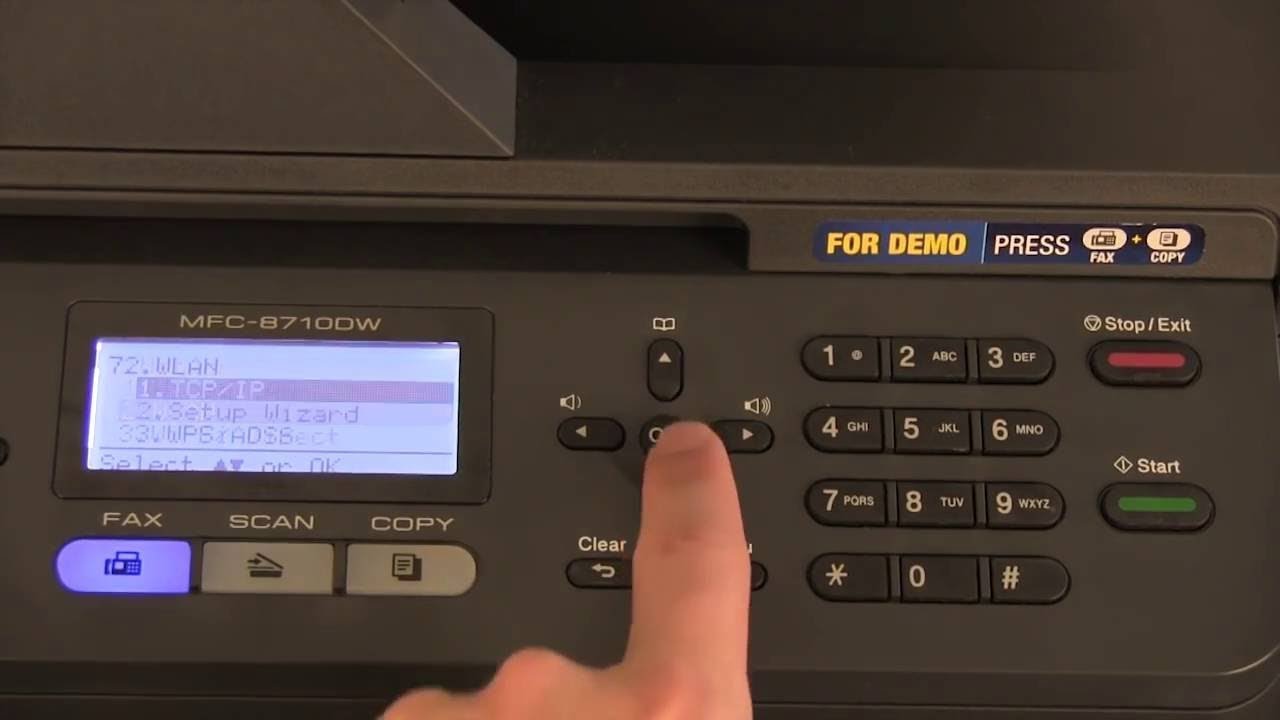
Step 2: Verify Network Settings
Moving forward, it's essential to keep these visual contexts in mind when discussing How To Set Up Printer On School Network.
Make sure the network is set to Private mode to ensure that your printer and other devices can communicate with each other securely. To verify this, follow these steps:
- Access your network settings.
- Check if your network is listed as Private or another security level.
- If it's not set to Private, follow the instructions to set it to Private mode.
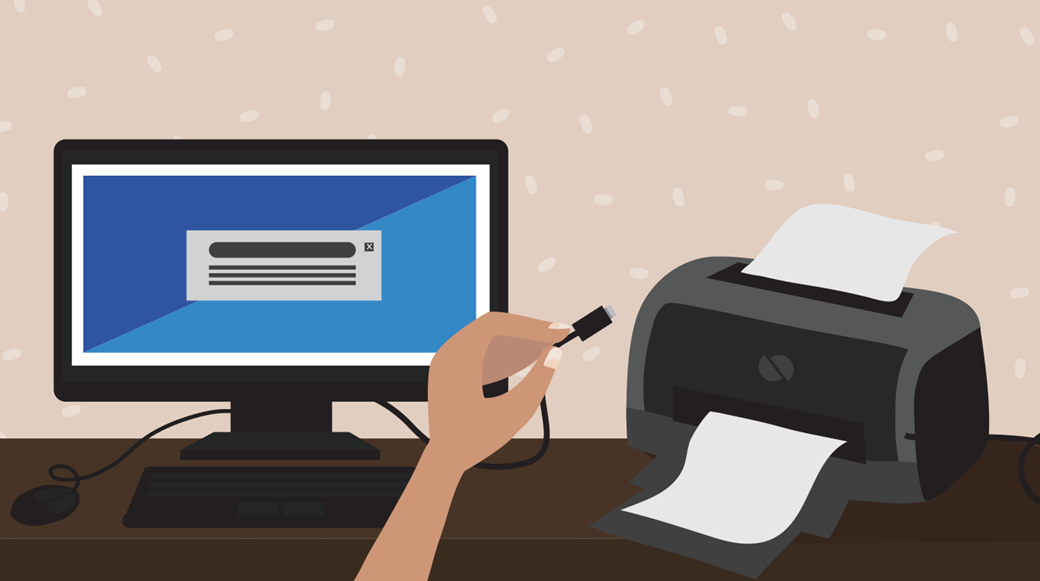
Step 3: Install Printer Drivers
Once you're connected to the school network, you can proceed to install the printer drivers. Here's how:
- Double-click on the printer icon to start the installation process.
- Wait for the printer drivers to install.
- If prompted, click "Yes" to continue the installation process.
Step 4: Set Default Printer
This particular example perfectly highlights why How To Set Up Printer On School Network is so captivating.
After installing the printer drivers, you need to set the default printer. This will ensure that your printer is selected as the default device for printing.
- Select the printer you want to install.
- Choose the paper size and other printing preferences as needed.
- Click "Set as Default Printer" to set the printer as the default device.
Once you've set up your printer, it's essential to verify that it's connected to the school network. You can do this by:
- Checking the printer's display for any error messages.
- Verifying that the printer is receiving power and is turned on.
- Testing a print job to ensure that the printer is working correctly.
Alternative Method: Using a Printer Hotspot
If the 3D printer cannot be connected to the school network, you can use the 5MPro's dedicated hotspot with a laptop or desktop solely reserved for use with the 3D printer. This will allow you to connect to the printer and print without interrupting the school network.
Conclusion
Setting up a printer on a school network can seem like a daunting task, but with the right steps and knowledge, it's a straightforward process. Follow the steps outlined in this guide to ensure a smooth installation process and get the most out of your school's Wi-Fi network.
Additional Tips
- Regularly inspect and maintain your printer to ensure it continues to work correctly.
- Keep your printer's firmware and software up to date to ensure optimal performance.
- Use a reputable and secure printer manufacturer to minimize the risk of security breaches.
Resources
- Check your school's network policies and procedures for specific guidelines on setting up printers on the school network.
- Consult with your school's IT department for further assistance or guidance.
- Explore online resources and tutorials for setting up printers on school networks.


")


