Ultimate Guide to G Router IP Address Setup: A Step-by-Step Tutorial
Introduction
Configuring your G Fiber router to ensure a smooth and secure internet experience is an essential task for homeowners and businesses alike. In this comprehensive guide, we will walk you through the process of setting up your G Router IP Address, providing you with a seamless and optimized internet connection.Understanding Router IP Address
The IP (Internet Protocol) address is a unique identifier assigned to your G Router, allowing devices on the network to communicate with each other. The default IP address of most routers is 192.168.1.1, but this can be changed to a custom value for added security. The IP address is crucial for accessing the router's settings and making necessary configurations for your network.Step 1: Signing In to Your G Fiber Account
To begin setting up your G Router, you need to sign in to your G Fiber account. This will give you access to the device's configuration settings, where you can make the necessary changes to your network. The login credentials are usually provided by your internet service provider.Step 2: Finding Your Router's IP Address
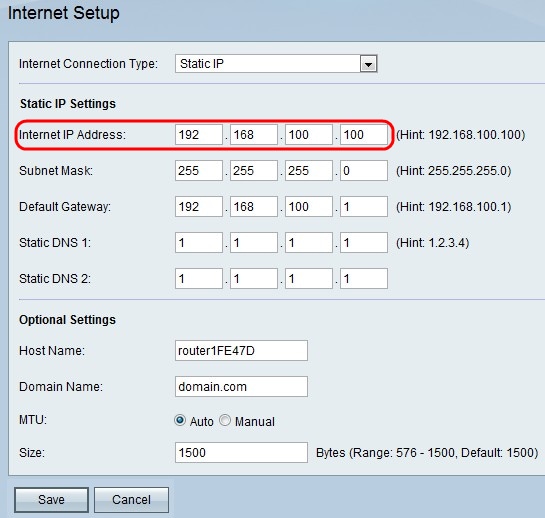
Furthermore, visual representations like the one above help us fully grasp the concept of G Router Ip Address Setup.
To access the router's settings, you need to find its IP address. This can be done by checking the router's documentation or searching online for your router's model. The most common IP addresses are 192.168.1.x, but this can vary depending on the device.Step 3: Accessing the Router's Web Interface
Once you have the IP address, open a web browser and type the address into the address bar. You will be prompted to enter the admin username and password. The default login credentials can usually be found in the router's documentation or on the manufacturer's website.Step 4: Configuring Your WiFi Network
After accessing the router's settings, you can configure your WiFi network to meet your needs. This includes setting the wireless network name, password, and encryption type. It is essential to choose a strong password to ensure the security of your network.Step 5: Setting Up DHCP Server
The DHCP (Dynamic Host Configuration Protocol) server assigns IP addresses to devices connected to your network. When configuring the DHCP server, ensure the starting IP address is 192.168.1.2 or greater but smaller than 192.168.1.253, as this will avoid conflicts with the router's default IP address.Advanced Configuration Options
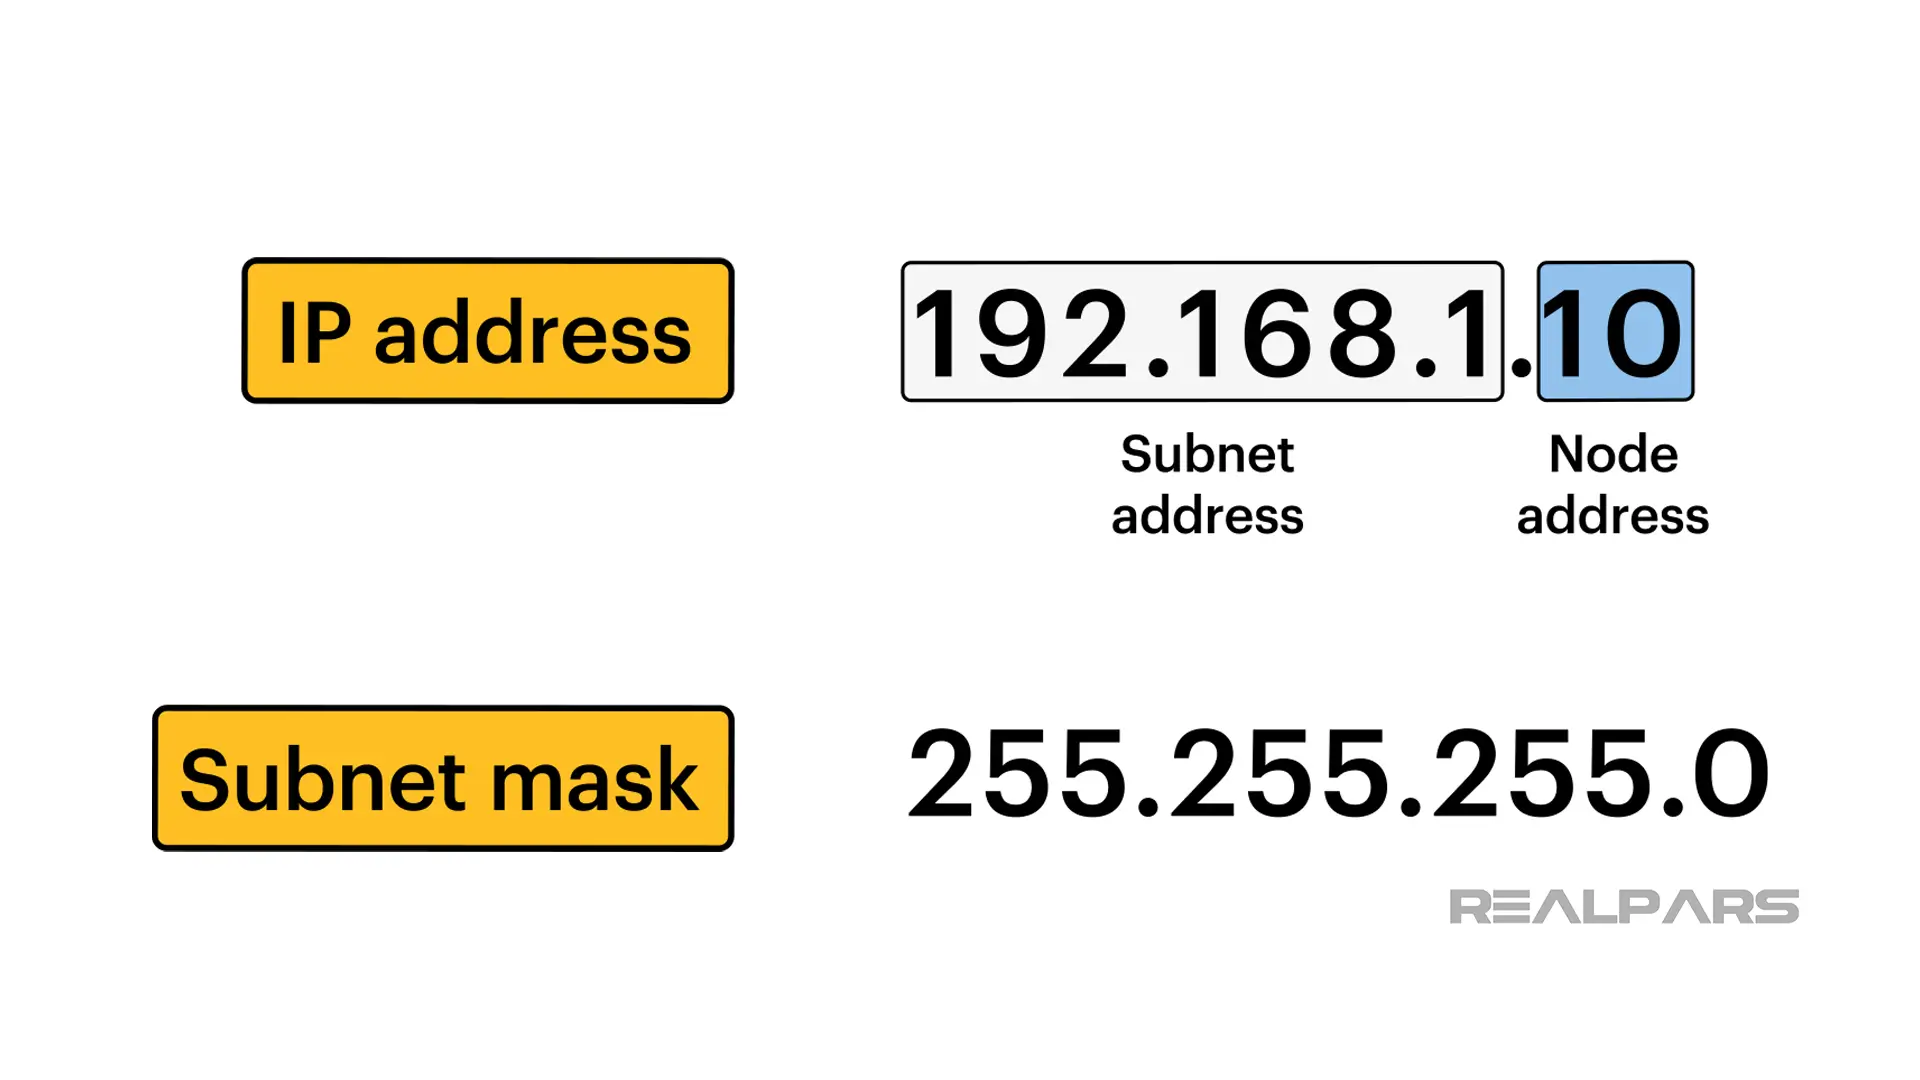
As we can see from the illustration, G Router Ip Address Setup has many fascinating aspects to explore.
Your G Router may offer additional features and settings to optimize your network performance. These can include Quality of Service (QoS) settings, port forwarding, and firewall configurations. These advanced features can help you manage your network traffic and ensure a smooth online experience. - HP")


")


