Drywall Texture Repair: A Comprehensive Guide
Drywall texture repair is a crucial aspect of home maintenance and renovation. A textured finish can add visual appeal to a room, but repairing damaged drywall can be a daunting task, especially if you're not familiar with the process. In this article, we'll explore the ins and outs of drywall texture repair, including the types of textures, tools, and techniques required to achieve a seamless finish.
Drywall textures come in various forms, including smooth, knockdown, orange peel, and popcorn ceilings. Each type of texture requires a different approach to repair, and understanding the specific texture on your drywall is essential for a successful repair job.
- Smooth Texture:** A smooth finish is achieved by applying a thin layer of joint compound and sanding it to a high sheen.
- Knockdown Texture:** A knockdown finish is created by applying a layer of joint compound and then using a special tool to create a textured pattern.
- Orange Peel Texture:** An orange peel finish is achieved by applying a layer of joint compound and then using a special tool to create a textured pattern with a bumpy, orange peel-like appearance.
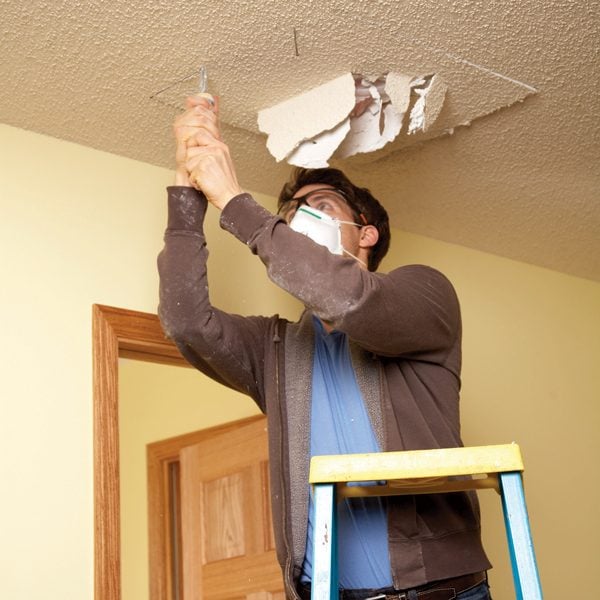
- Popcorn Ceiling Texture:** A popcorn ceiling finish is created by applying a layer of joint compound and then using a special tool to create a textured pattern with a bumpy, popcorn-like appearance.

Such details provide a deeper understanding and appreciation for Drywall Texture Repair.
Tools and Materials Needed for Drywall Texture Repair
To achieve a seamless drywall texture repair, you'll need the right tools and materials. Here are some essential items to get started:
- Drywall Mud (Joint Compound):** A high-quality drywall mud is essential for creating a smooth, even finish.
- Texture Sponges:** Texture sponges come in various sizes and shapes, each designed to create a specific type of texture.
- Knockdown Tools:** Knockdown tools are used to create a knockdown texture finish.
- Orange Peel Tools:** Orange peel tools are used to create an orange peel texture finish.
- Popcorn Ceiling Texture Sprayer:** A popcorn ceiling texture sprayer is used to create a popcorn ceiling texture finish.
- Sanding Blocks:** Sanding blocks are used to smooth out the repair area and create a seamless finish.
- Drop Cloths:** Drop cloths are used to protect floors and furniture from mud and debris.

Repairing drywall texture can be a complex process, but with the right tools and materials, you can achieve a seamless finish. Here's a step-by-step guide to drywall texture repair:
- Assess the Damage:** Before starting the repair process, assess the damage to determine the type of texture and the extent of the repair.
- Clean the Area:** Clean the repair area thoroughly to ensure a smooth, even finish.
- Apply Mud:** Apply a layer of drywall mud to the repair area, using a putty knife or a trowel.
- Texture the Mud:** Use a texture sponge or a knockdown tool to create the desired texture pattern.
- Sand the Area:** Sand the repair area to smooth out the texture and create a seamless finish.
- Apply a Second Coat:** Apply a second coat of drywall mud to the repair area, using a putty knife or a trowel.
- Texture the Second Coat:** Use a texture sponge or a knockdown tool to create the desired texture pattern.
- Sand the Area:** Sand the repair area to smooth out the texture and create a seamless finish.
Conclusion
Frequently Asked Questions
Here are some frequently asked questions about drywall texture repair:
- Q:** What is the best type of texture for a ceiling?
- A:** A popcorn ceiling texture is a popular choice for ceilings, as it creates a smooth, even finish.
- Q:** How do I match the texture of my drywall?
- A:** To match the texture of your drywall, use a texture sponge or a knockdown tool to create the desired texture pattern.
- Q:** What is the best way to smooth out a drywall repair?
- A:** To smooth out a drywall repair, use a sanding block to create a seamless finish.
Resources
Here are some resources to help you with your drywall texture repair:


