Replacing the SSD in Your MacBook Pro: A Step-by-Step Guide
Determining Your MacBook Pro Model and SSD Configuration
Before you start, it's essential to identify your MacBook Pro model and its SSD configuration. This information is crucial because different models have different SSD configurations and accessibility. Knowing your model will help you find the correct replacement SSD and guide you through the upgrade process. Refer to Apple's support pages or check the documentation that came with your MacBook Pro to determine its model and SSD type.
Tools and Precautions
This particular example perfectly highlights why Macbook Pro Ssd Replacement Process is so captivating.
To perform the upgrade, you'll need a few tools and to take some precautions. Ensure that you have the following:
Before you start, ground yourself by touching a metal object or wearing an anti-static wrist strap to prevent static electricity damage to your MacBook Pro's components.
Removing the Bottom Case and SSD
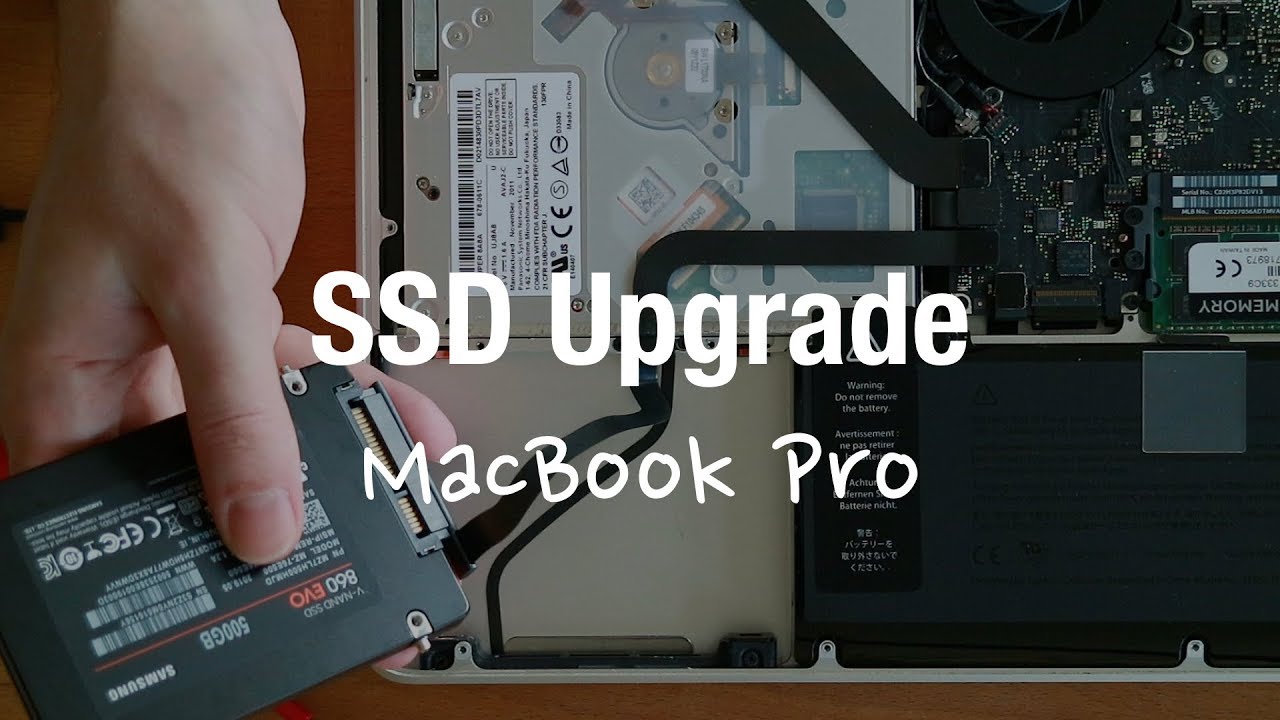
Follow these steps to remove the bottom case and SSD from your MacBook Pro:
- Shut down your MacBook Pro and unplug the power cord and other cables.
- Remove the rubber feet from the bottom of the case by prying them off with a plastic spudger.
- Remove the 10 Torx screws from the bottom of the case using a Torx screwdriver.
- Gently pry the bottom case off the laptop by working your way around the edges with a plastic spudger.
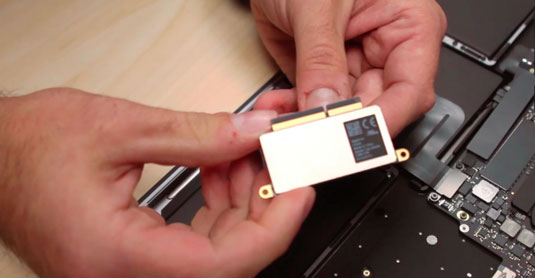
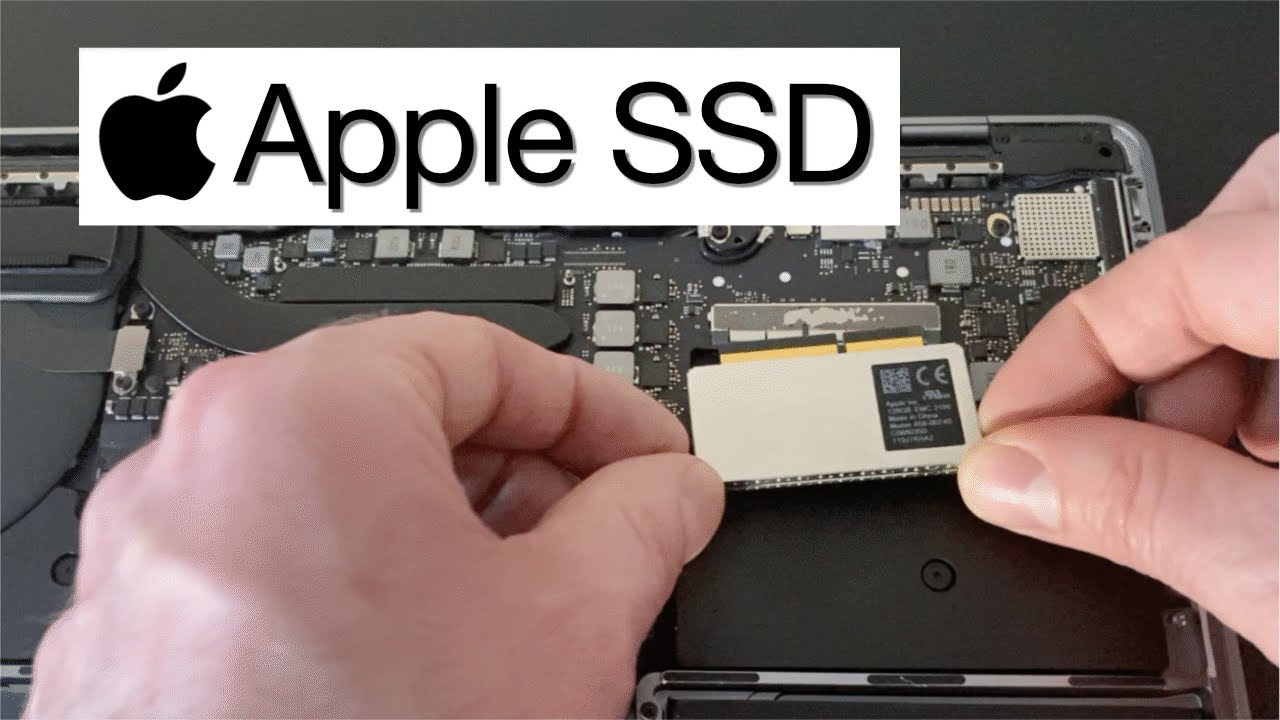
- Disconnect the SSD from the motherboard by carefully lifting it out of its connector.
Preparing the Replacement SSD
As we can see from the illustration, Macbook Pro Ssd Replacement Process has many fascinating aspects to explore.
Once you have removed the old SSD, prepare the replacement SSD by:
- Formatting the new SSD as a Mac OS Extended (journaled) volume, if necessary.
- Installing the new SSD into the SSD mounting bracket.
- Securing the new SSD with screws and reconnecting it to the motherboard.
Follow these steps to install the replacement SSD:
- Replace the bottom case and reattach the bottom case screws.
- Reconnect any cables that you disconnected, including the power cord and other cables.
- Turn on your MacBook Pro and enter the BIOS setup (if necessary).
- Install Microsoft macOS on the new SSD, using the installation media and follow the on-screen instructions.
- Restore your data and applications to the new SSD, using Time Machine or other data transfer methods.
Finalizing the Upgrade Process
Once you have installed the replacement SSD, follow these final steps to complete the upgrade process:
- Configure your MacBook Pro's settings to recognize the new SSD.
- Test your MacBook Pro to ensure that everything is working correctly.
- Consider upgrading to the latest version of macOS, if necessary.
Replacing the SSD in your MacBook Pro is a complex process that requires attention to detail and the right tools. However, with the right guidance and precautions, you can upgrade your MacBook Pro's storage and performance. By following the steps outlined in this article, you can ensure a seamless upgrade experience and enjoy improved performance and storage capacity in your MacBook Pro.


 15'' i7-4750HQ 2.0GHz 8GB 256GB SSD ...")
")


")
 - Tech Specs - Apple Support")

