How to Tie Shoelaces with a Knot Controlled Method: Master Security and Style
If there’s one small skill that makes a big difference, it’s how you tie your shoelaces — especially when you want a knot controlled method that’s secure, symmetrical, and durable. Whether you’re gearing up for a hike, getting ready for a run, or just want that trustworthy bow every time, learning how to tie shoelaces with a knot controlled method is essential. Say goodbye to slipping laces and half-tied knots — this guide walks you through a reliable, simple technique that keeps your shoes secure and looking sharp. The best part? You’ll learn a knot method designed to stay tight, stay tidy, and hold strong even through hours of wear. A knot controlled method is more than just a way to tie — it’s a system. It means creating a secure, balanced knot with consistent tension and clear structure. Unlike random or haphazard lacing, this technique focuses on symmetry, durability, and ease of adjustment. From running shoes to casual sneakers, or even formal footwear, using a controlled knot reduces the risk of laces coming loose and provides confidence that your shoes will stay on your feet. For runners and athletes, bagivity like Ian's Secure Shoelace Knot make a world of difference — they’re fast, friction-rich, and built explicitly to resist tension during intense activity. But whether your goal is performance or plain practicality, mastering a knot controlled method puts control back in your hands.Step-by-Step: How to Tie Shoelaces with a Knot Controlled Method

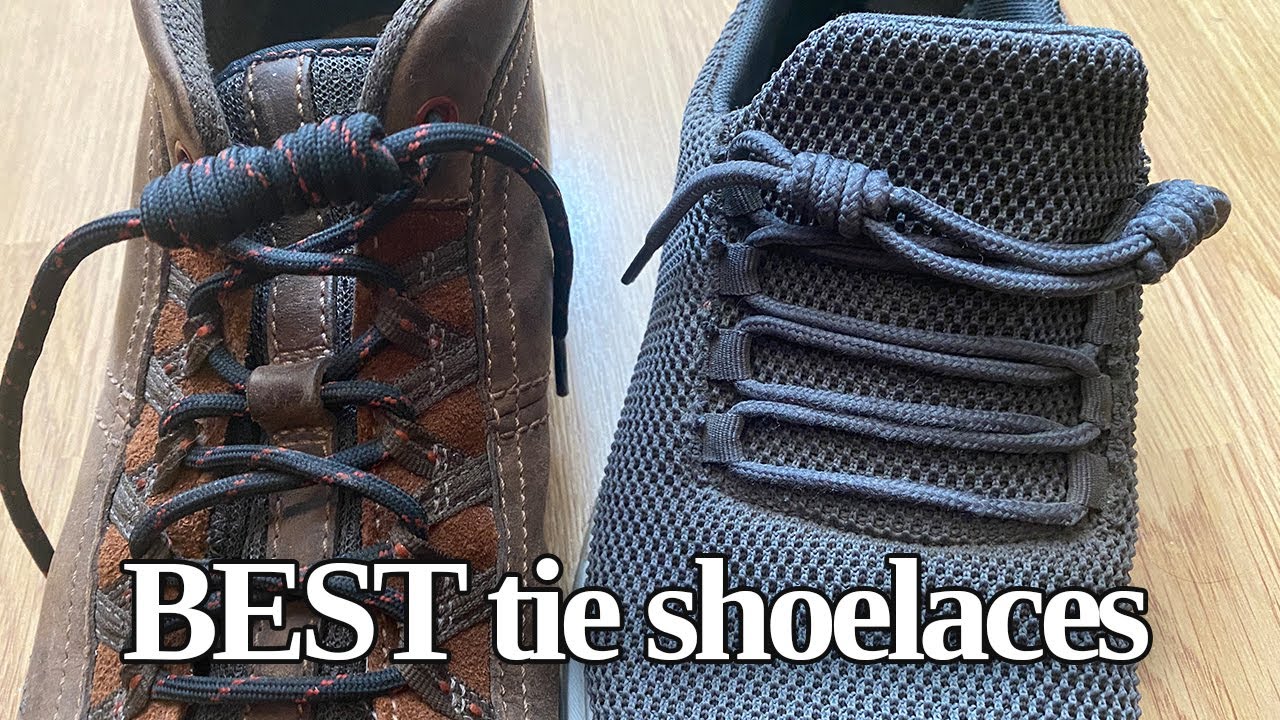
Moving forward, it's essential to keep these visual contexts in mind when discussing How To Tie Shoelaces With A Knot Controlled Method.
Here’s your complete, beginner-friendly guide to mastering the knot controlled method for reliable, symmetrical lacing:- Start with clean, sharp lace ends: Undo the shoe’s laces and trim if frayed — neat edges create a better foundation for your knot.
- Cross the laces: Hold the left lace in your left hand and the right lace in your right. Cross them over each other, forming an ‘X’ shape. This simple step sets the stage for tension and balance.
- Begin looping: Take the left lace, wrap it neatly around the right lace from front to back. Some prefer an over-under technique; the key is consistent height and tightness.
- Pull through the knot: Create a loop by forming a small anchor with one lace, then pull it through the space between the crossed laces. This forms the base of your secure tie.
- Tighten symmetrically: As you pull, maintain even tension on both sides. This prevents lopsidedness and strengthens the hold.
- Lock and adjust: Once致 tight, tuck any stray ends neatly. Run your fingers over loops to ensure smooth, even surfaces — no loose thread should remain.

")

 - wikiHow")


")


")