Drywall Finishing Techniques for DIY: A Step-by-Step Guide
Finishing drywall is a crucial process that transforms raw gypsum board into a seamless and visually appealing surface. Whether you're a DIY enthusiast or a professional contractor, understanding the essential steps involved in drywall finishing is essential to achieve a smooth and professional result.
Tools and Materials Needed
Preparation is Key
Before you start finishing your drywall, make sure your walls and ceiling are free of dust, dirt, and any other debris. This will ensure a smooth finish and prevent any imperfections.
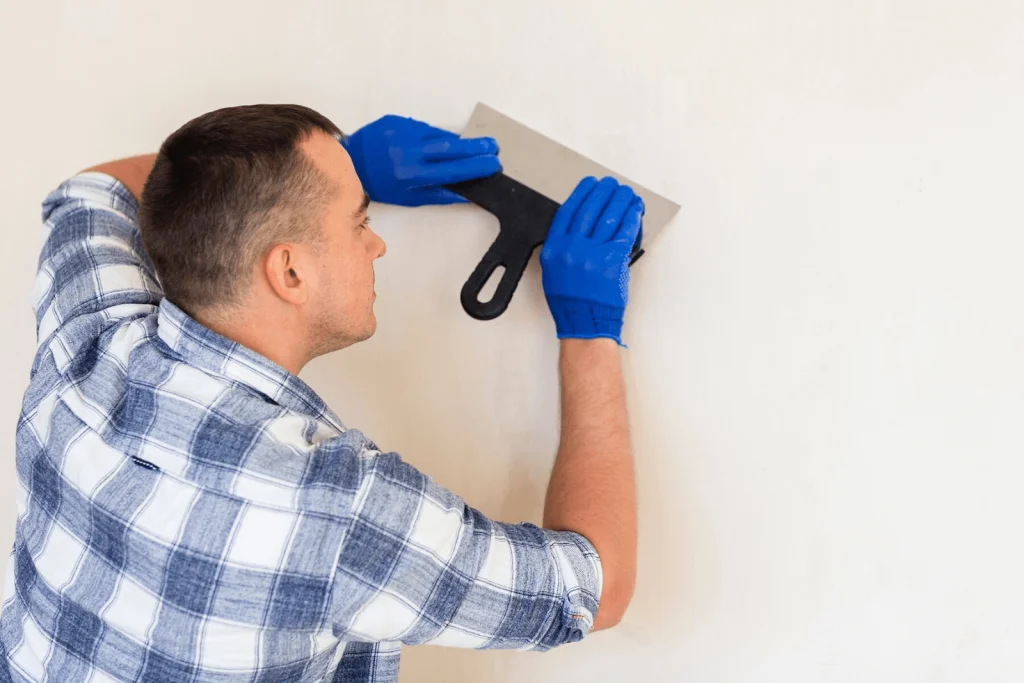
Step 1: Apply Joint Compound
Apply a thin layer of joint compound to the seams and joints using a putty knife. Hold the knife at a 45-degree angle and press it firmly onto the drywall. Wipe off any excess compound with a damp cloth.
Step 2: Apply Second Coat of Compound
Allow the first coat of compound to dry completely before applying a second coat. Use a putty knife to apply another thin layer of compound, feathering it out towards the edges.
Step 3: Sand the Surface
Use a sanding block to smooth out any imperfections and create a seamless surface. Sand in a circular motion, working from the center of the seam outwards.
Apply painter's tape to the edges of the drywall, pressing it firmly onto the surface. This will protect the surrounding area from paint and compound.
Step 5: Paint and Finish
Prime and paint the drywall according to the manufacturer's instructions. Make sure to apply a second coat of paint if necessary.
Advanced Drywall Finishing Techniques

- Level 5 drywall finishing: This involves an additional layer of joint compound, which is applied over the taped and mudded seams to create an ultra-smooth and seamless surface.
- Butt joint finishing: This involves using a taping knife to create a seamless joint between two pieces of drywall.
- Corner finishing: This involves using a corner bead to create a smooth and seamless joint in the corner of a drywall panel.
Common Mistakes to Avoid
- Ignoring the studs: Make sure to use a stud finder to locate the studs behind the drywall.
- Not applying enough compound: Make sure to apply a sufficient amount of compound to cover the entire seam.
- Not sanding enough: Make sure to sand the surface thoroughly to create a smooth and seamless finish.
Conclusion
Finishing drywall can be a challenging task, but with the right tools and techniques, you can achieve a smooth and professional result. Remember to follow the manufacturer's instructions, use the right materials, and take your time to ensure a flawless finish.


+over+drywall+seams.+The+contractor+is+careful-1920w.webp "Hanging and Finishing Drywall | Complete DIY & Pro Guide for Smooth Walls")