Change Default Gateway in Windows 11/10: A Step-by-Step Guide
Why Change the Default Gateway?
The default gateway is the IP address your system uses to connect to other networks. It's essential to configure it correctly to ensure a smooth internet connection. If you're experiencing issues with your network, changing the default gateway might be the solution you need.
Changing Default Gateway in Windows 11/10: Method 1 - Using Windows Settings
- Click on the Start menu and select the Settings icon (it looks like a cogwheel).
- Click on "Network & Internet" from the Settings menu.
- Click on "Change adapter options" from the left menu.
- Right-click on your network adapter (Ethernet or Wi-Fi) and select "Properties."
- In the "Properties" window, look for the "Internet Protocol Version 4 (TCP/IPv4)" or " Internet Protocol Version 6 (TCP/IPv6)" entry and click on it.
- Click on the "Properties" button.
- In the "IPv4 Properties" or "IPv6 Properties" window, click on the "Advanced" button.
- Click on the "General" tab and enter the new default gateway address in the "Default gateway" field.
- Click "OK" to save the changes.
Changing Default Gateway in Windows 11/10: Method 2 - Using the Control Panel
Alternatively, you can change the default gateway in Windows 11/10 using the Control Panel:
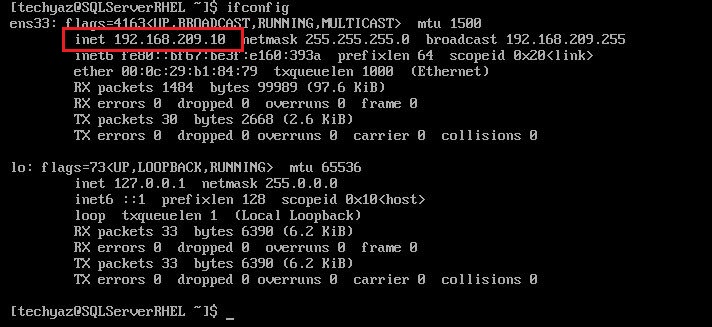
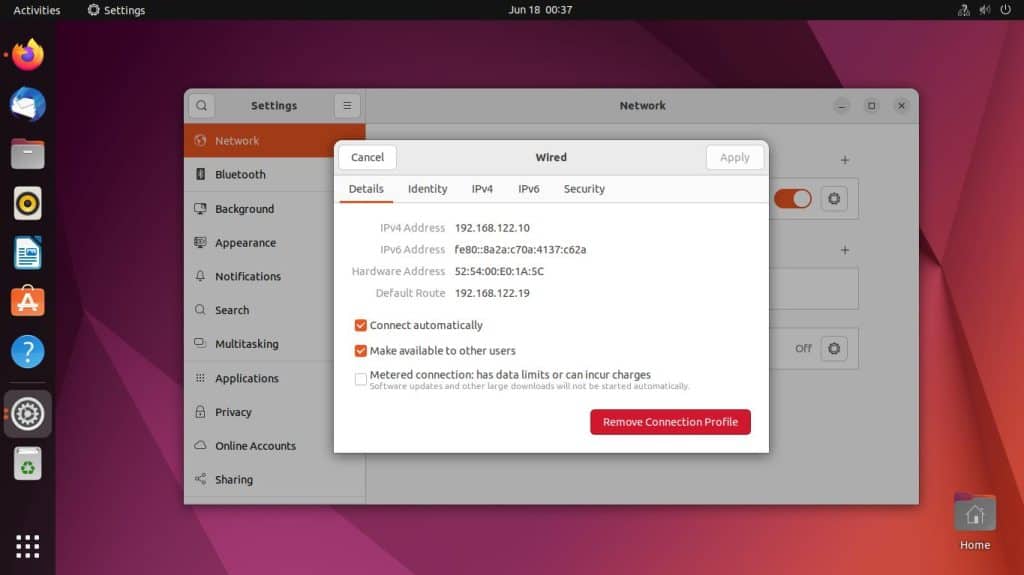
Moving forward, it's essential to keep these visual contexts in mind when discussing Change Default Gateway.
- Search for "Control Panel" in the Start menu and click on it.
- Click on "Network and Sharing Center."
- Click on "Change adapter settings" from the left menu.
- Right-click on your network adapter (Ethernet or Wi-Fi) and select "Properties."
- Follow the same steps as in Method 1 to change the default gateway.
Changing Default Gateway in Windows 11/10: Method 3 - Using PowerShell
If you're comfortable using PowerShell, you can change the default gateway using the following command:
- Open PowerShell as an administrator.
- Enter the following command: `Get-NetIPConfiguration -InterfaceIndex
| Set-NetIPConfiguration -DefaultGateway `. Replace ` ` with the interface index of your network adapter and ` ` with the new default gateway address.
Conclusion
Changing the default gateway in Windows 11/10 is a straightforward process that can help resolve network issues. Whether you use the Windows Settings app, the Control Panel, or PowerShell, make sure to follow the steps carefully to ensure a successful outcome.
Additional Resources
If you're experiencing issues with your network, you can also try the following resources:
Microsoft Support: Network Basics


![How to Change or Set Default Gateway in Windows 11/10 [Tutorial] - Change Default Gateway](https://www.wikihow.com/images/thumb/d/d1/Add-or-Change-the-Default-Gateway-in-Linux-Step-7.jpg/v4-728px-Add-or-Change-the-Default-Gateway-in-Linux-Step-7.jpg "How to Change or Set Default Gateway in Windows 11/10 [Tutorial]")


